Create and Send New Emails
Added in FP14.
-
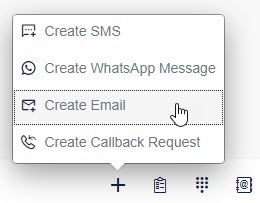
Click the + (Create New) button and
choose Create Email.
 A popup window appears.
-
Choose the address you want to use as a sender. By default the system enters the last
option used in the From field.
If administrators have defined templates for the queue, they are available in the Reply Template list. If the queue has a specific reply template defined, it's automatically selected for the Reply Template field. If you don't want to use a template, choose (None).You can also add the recipient address to the To field but you can do it when the email is in editing mode.
-
Click OK.
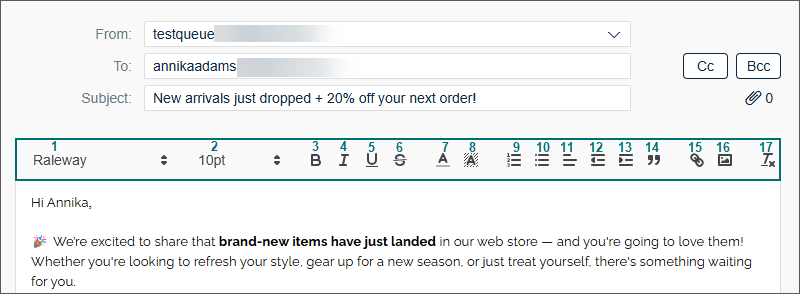
The editing view appears. If you close the email draft without saving, the system asks if you want to keep the draft. Choosing No will delete the email draft.
- Enter recipients' addresses. To add the Cc and Bcc fields, click the corresponding button.
-
Enter the email body text and possible images.
The maximum size of email body text is 2 MB. You'll see a warning message if the body text size is close to or above this.
-
Use the toolbar for text and content formatting.
Formatting options Description 1 Font name The fonts listed below are available only when the required font package is installed on the workstation.
- Andale Mono
- Book Antiqua
- Comic Sans MS
- Raleway
Change the typeface used to display your text. 2 Font size Make font smaller or bigger. 3 Bold Emphasize selected text by making it thicker and darker. 4 Italic Emphasize selected text by applying italic formatting. 5 Underline Emphasize selected text by applying underline. 6 Strikethrough Cross out selected text 7 Text color Change text color. 8 Text background color Hightlight text. 9 Numbering Add a numbered list. 10 Bullets Add a bulleted list. 11 Align Place your content to the center, left, or right. 12 Indent less Decrease indent. 13 Indent more Increase indent. 14 Quote Separates text to show it’s a quotation. 15 Insert link Add links to, for example, web pages. 16 Insert image Insert images inside your text. 17 Clear formatting Removes your formatting. -
You can drag and drop or copy and paste images one at a time. To copy and paste, use either the context menu or shortcut buttons, such as ctrl+c and ctrl+v in Windows, or command+c and command+v in MacOS.
The added images also appear as attachments. If you remove the attachment, the corresponding image is removed as well, and if you remove the image, the attachment is removed as well.
-
Also emojis are supported. Use them from Communication Panel toolbar or from your workstation:
- In Windows, click the Windows and . (period) button to open the emoji selection.
- In MacOS, use the keyboard shortcut Command - Control - Spacebar.
-
- To use a reply template, choose the Reply Template button. For more information about reply templates, see Reply Templates.
-
To attach optional attachments, choose the Add Attachment
button, browse the file and choose OK.
Note:
Sinch does not virus scan attached files. We recommend running the virus scan at server, limiting file size and allowed file types to ensure safe operations.
- Choose one of the options:
Save saves the changes you made and adds it to your pending conversations list.
Send sends it to the specified recipients.
-
Close provides options Yes to set the draft as pending, No to delete the draft or Cancel to continue working on the draft.
- To close the view, click Close.