Configuring Mail Server for User Authentication
To configure MS365 as mail server, System Configurator configuration requires Application registration ID. Follow the steps below to register application at Azure Active Directory (AD).
Register Application
Register the application with your Azure Active Directory tenant. Some registration is required for Microsoft to act as an authority for your application.
Configure Application
- Choose the Azure AD tenant where you want to create your applications.
- Sign in to the Azure portal.
If your account is present in more than one Azure AD tenant, select Directory + Subscription, which is an icon of a notebook with a filter next to the alert icon, and switch your portal session to the desired Azure AD tenant.
- Select Manage Azure Active Directory.
- Select App registrations.
- Register the client app:
- In the App registrations page, select +New registration.
- When the Register an application page appears,
enter your application's registration information:
- In the Name section, enter a meaningful application name. This is not used in System Configurator.
- In the Supported account types section, select an option that suits your purposes.
- No need to specify Redirect URI since it is not used in this case.
- Select Register to create the application.
- On the app Overview page, find the following values and
copy them:
- Application (client) ID
- Directory (tenant) ID
- Go to Advanced settings and set Allow public
client flows to Yes and then save.Note:If this is not available on the user interface, complete other steps, register application and select registered application to see details. On the left navigation bar, select section Authentication and in Advanced settings section choose Treat application as a public client. By default, No is selected. Select Yes and click Save.
- In the list of pages for the app, select View API
permissions:
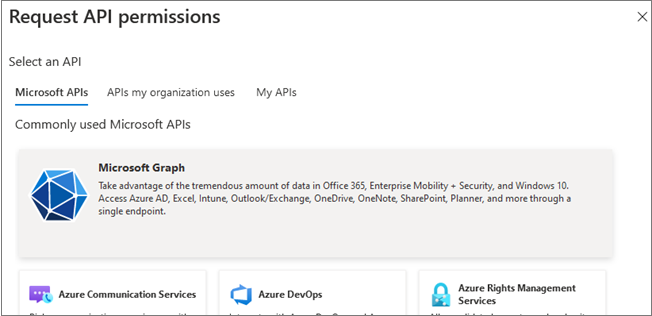
- Click the Add a permission button and then ensure that the Microsoft APIs tab is selected (by default, it is selected).
- In the Commonly used Microsoft APIs section,
click the Microsoft Graph.
-
In the Delegated permissions section, ensure that the right permissions are checked: User.Read, User.ReadBasic.All, Mail.Mail.ReadWrite. Use the search box if necessary.
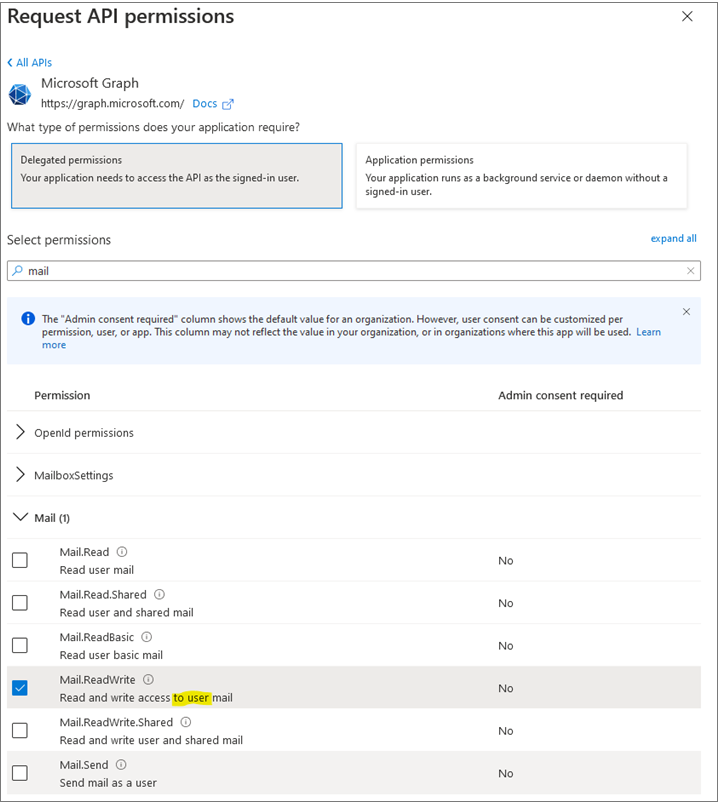
- Select the Add permissions button. Permissions are now assigned correctly but the client app does not allow interaction. Therefore, no consent can be presented via a user interface and accepted to use the service.
- Click the Grant/revoke admin consent for [tenant]
button, and then select Yes when you are asked if
you want to grant consent for the requested permissions for all accounts
in the tenant. You need to be an Azure AD tenant admin to do
this.
Azure AD configuration is completed.