Replacing welcome message
Prerequisites
- Prompt file
- Rights to create audio prompts
- Calendar created if the default calendar isn't used
- Rights to view calendars
-
On the System Configurator main screen, choose and click Add new.
-
Choose Audio and Welcome message
-
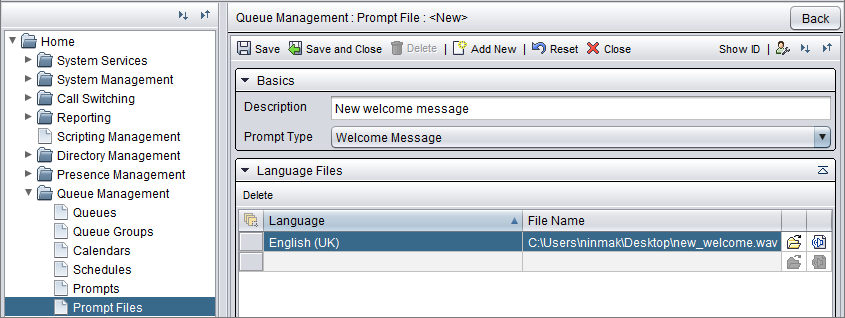
In the Basics block, enter a description for the prompt file and then choose the Welcome message as the prompt type.
-
In the Language files block, click the language column row to choose the language.
-
Use the edit icon to add the file.

-
Save the prompt file.
After saving the wav file name will be converted into an ID.

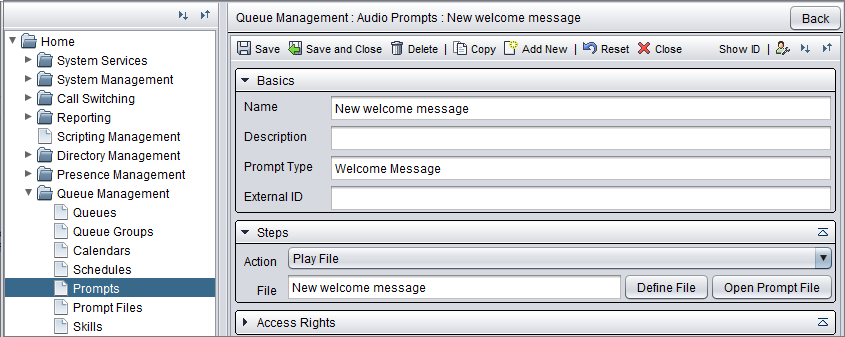
The system asks you if you want create a prompt and link the prompt file to it. Click Yes and open.

The prompt opens
-
Enter a description if needed.
-
Keep the action as Play file and save the prompt.

Now add the newly created prompt to a queue.
-
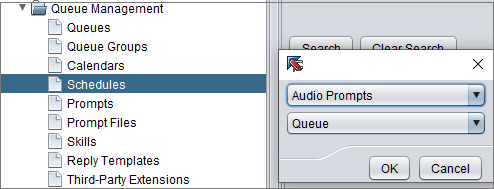
Go to , click Add new and choose Audio prompts and Queue.

Add the queue(s) where you want this prompt to be used.
Choose the calendar.
If you want that the prompt is always used, choose the Default calendar.
-
In the Schedule details, choose Welcome message as the prompt type and then choose right prompt for the Default field.
-
Save the schedule.
You have now finished the configuration. It takes some seconds before changes are processed. You can test that the prompt is played by calling to the queue, for example, from Communication Panel or from your mobile phone. First you should hear the prompt you uploaded and then the default in queue prompt Your call is in the customer service queue. Please stay on the line. Your call will be answered as soon as possible.
