Sinch SMS
Sinch SMS allows you to send and receive SMS messages from and to your Sinch Contact Pro system.
Prerequisites
-
SMS number from Sinch available on your Sinch Dashboard account
Note:When setting up Sinch SMS, inform Sinch of the phone number you want to use for outbound SMS messages. Currently, you cannot configure this number yourself. -
The following information from Sinch Contact Pro support:
-
Callback URL, which is typically of the following format, depending on the AWS region in which your service is running:
Region URL Europe https://login-eu-c1.cc.sinch.com/[tenantname]/sms/sinchsms/sms North America https://login-na-w2.cc.sinch.com/[tenantname]/sms/sinchsms/sms Australia https://login-au-s2.cc.sinch.com/[tenantname]/sms/sinchsms/sms Africa https://login-af-s1.cc.sinch.com/[tenantname]/sms/sinchsms/sms Callback URL tells Sinch SMS where to direct an arriving message.
-
Public IP address of the SMS server. Sinch SMS support may request this information.
-
Configuring your Sinch SMS integration
-
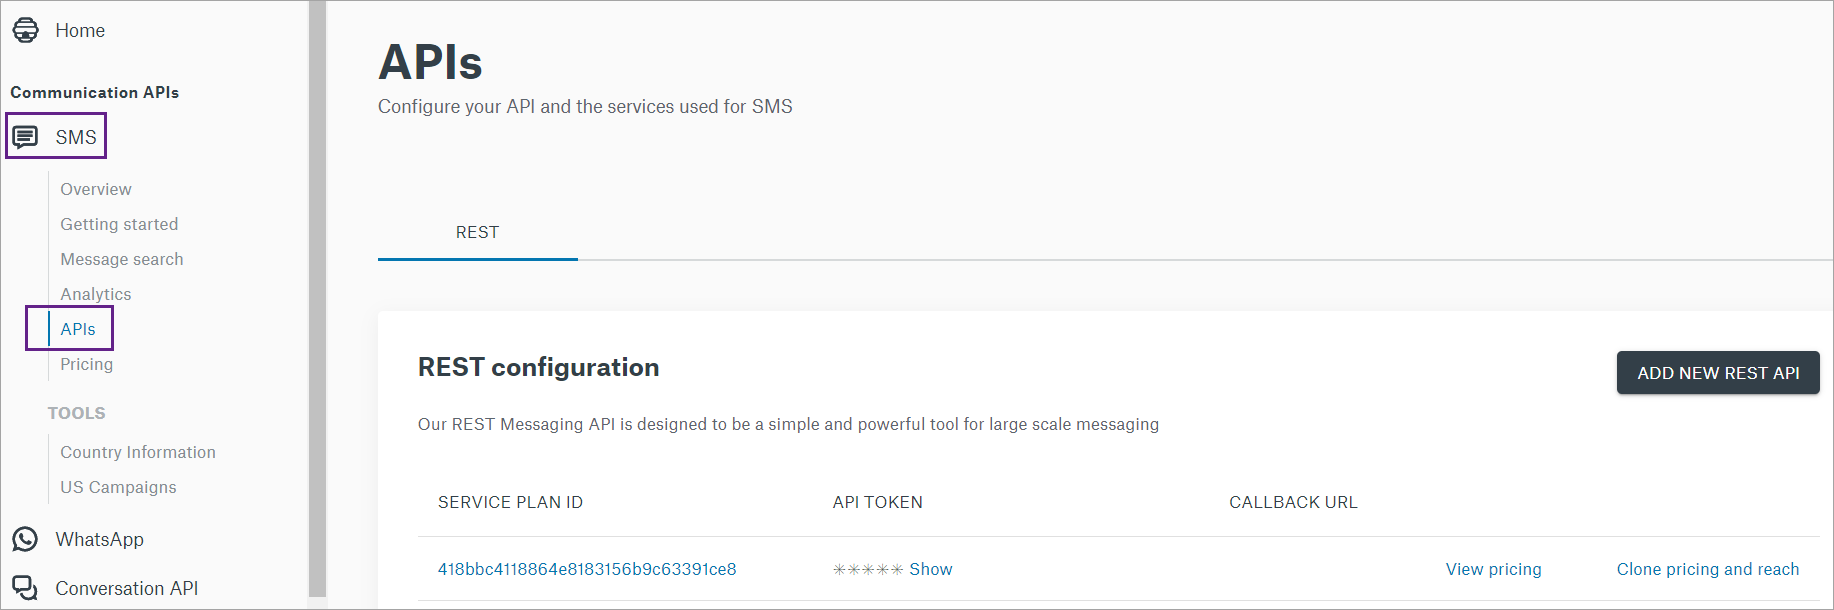
Log into Sinch Customer Dashboard and select . The APIs page opens:
-
Add a new Sinch SMS configuration or modify an existing one, and add the Callback URL you received from Sinch Contact Pro support into your configuration:
-
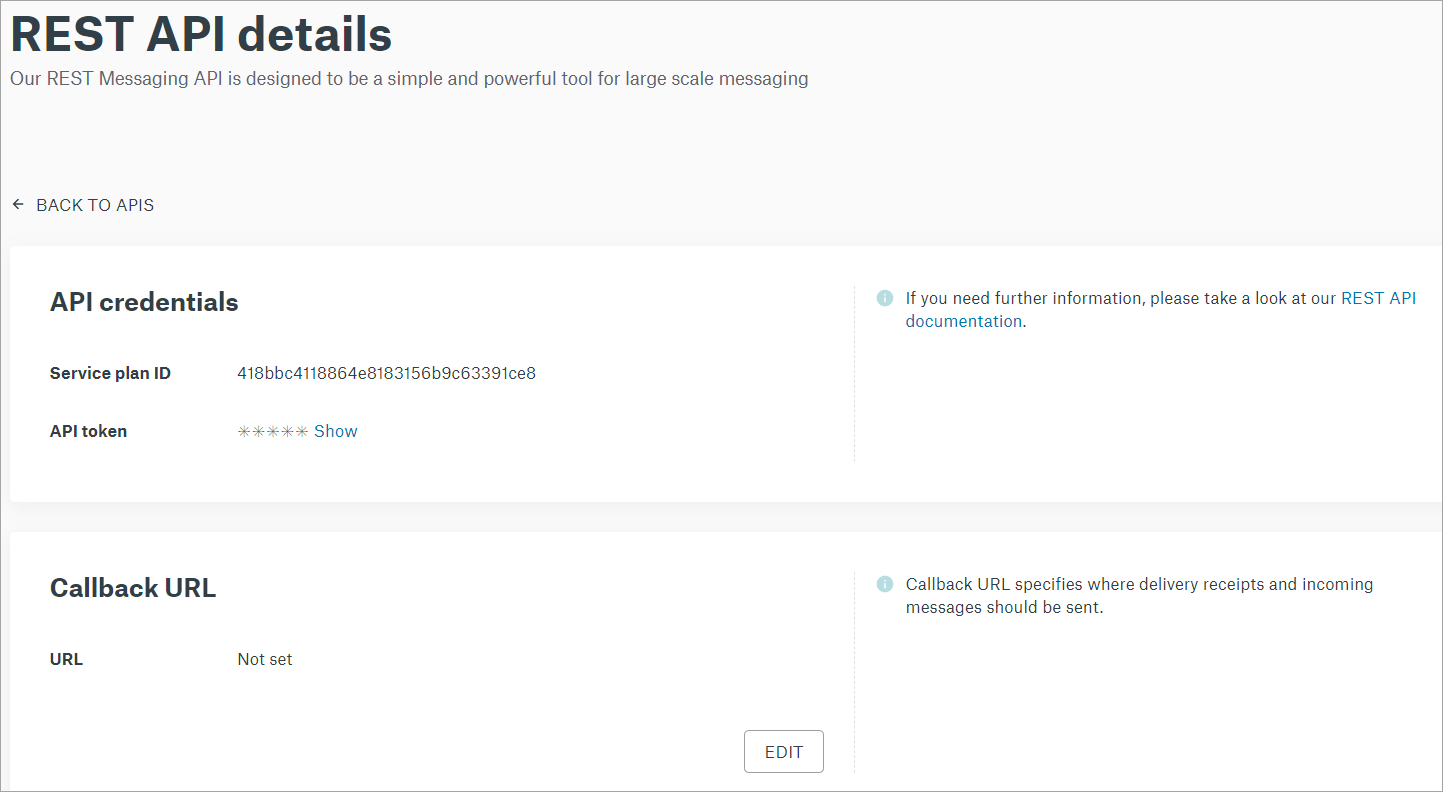
Click the Service Plan ID shown as a blue link. The REST API details page opens:
-
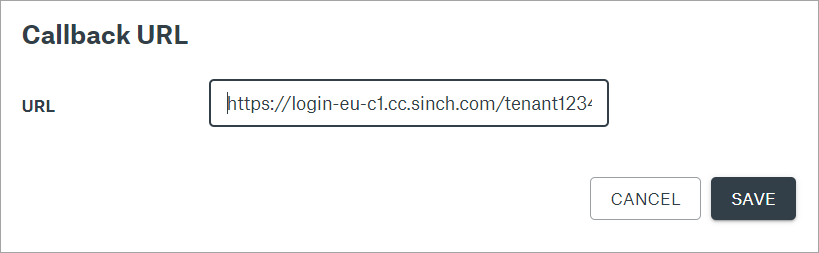
In the Callback URL section, click EDIT and copy-paste the callback URL.
-
Click SAVE.
Your Sinch SMS service is now configured. Next, you will need to configure the integration into Sinch Contact Pro.
-
-
Start System Configurator and navigate to .
-
Click Add New and select sinchsms.
-
Enter the settings for your Sinch SMS connection:
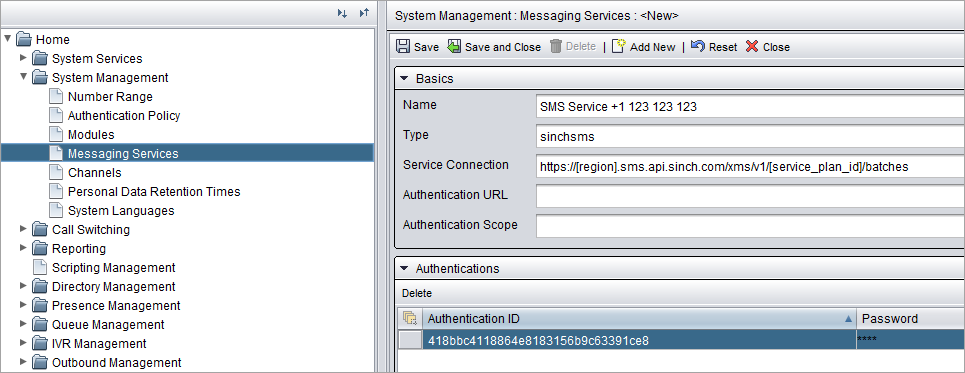
- Name: Name your connection, for example SMS Service +1 123 123 123.
- Service Connection: Define the URL for service connection in
the following format:
https://[region].sms.api.sinch.com/xms/v1/[service_plan_id]/batches
If necessary, check your region from Sinch SMS support. Copy and paste your Service plan ID from the REST configuration in Sinch Build.
Tip:Read more about Sinch SMS URLs at: https://developers.sinch.com/docs/sms/api-reference/ - Extend the Authentications block and add the following data
from Sinch Dashboard:
- Authentication ID: Service plan ID
- Password: API token
-
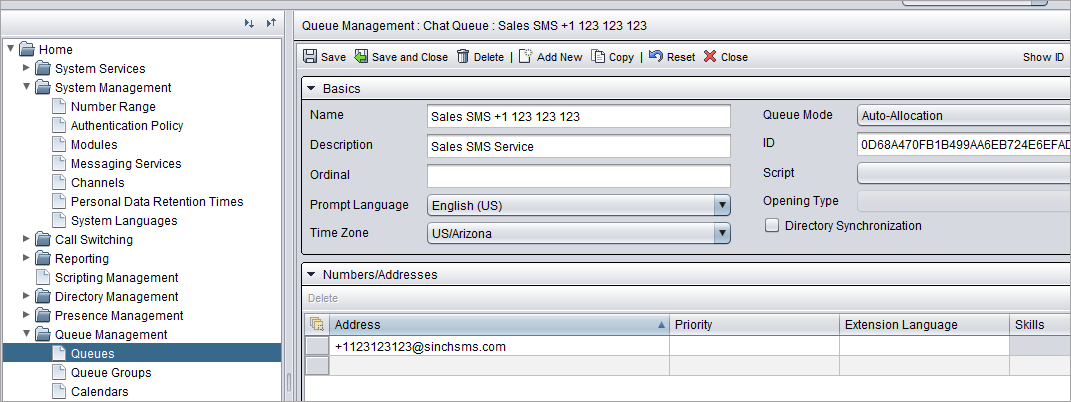
Save and navigate to Queue Management in System Configurator.
-
Create a new Chat Queue. The queue address is of format: [phone number in international format]@[service]. For example:
+358401234567@sinchsms.com
-
Make sure agents have serve rights to the newly created queue.
Your Sinch SMS integration is now complete and ready for use.