Creating User Groups in Sinch Contact Center
Note:
Always create required users and user groups in the All Users group, or its subgroups. Otherwise you cannot manage them properly.
Copying User Groups
To create a user group by copying the sample group:
-
On the System Configurator main screen, choose .
-
Select the sample group, for example to create one for agents, select Sample Agent Group.
-
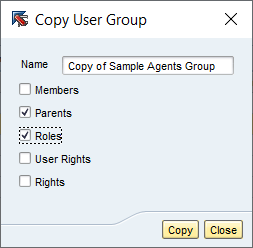
Click Copy and:
-
Enter the name.
- Select options Parents (this adds the group to the All Users group) and Roles (this adds the role CC Agent for all members of this group).
-
-
Click Copy.
Creating User Groups Manually
To create a subgroup in the All Users group
manually: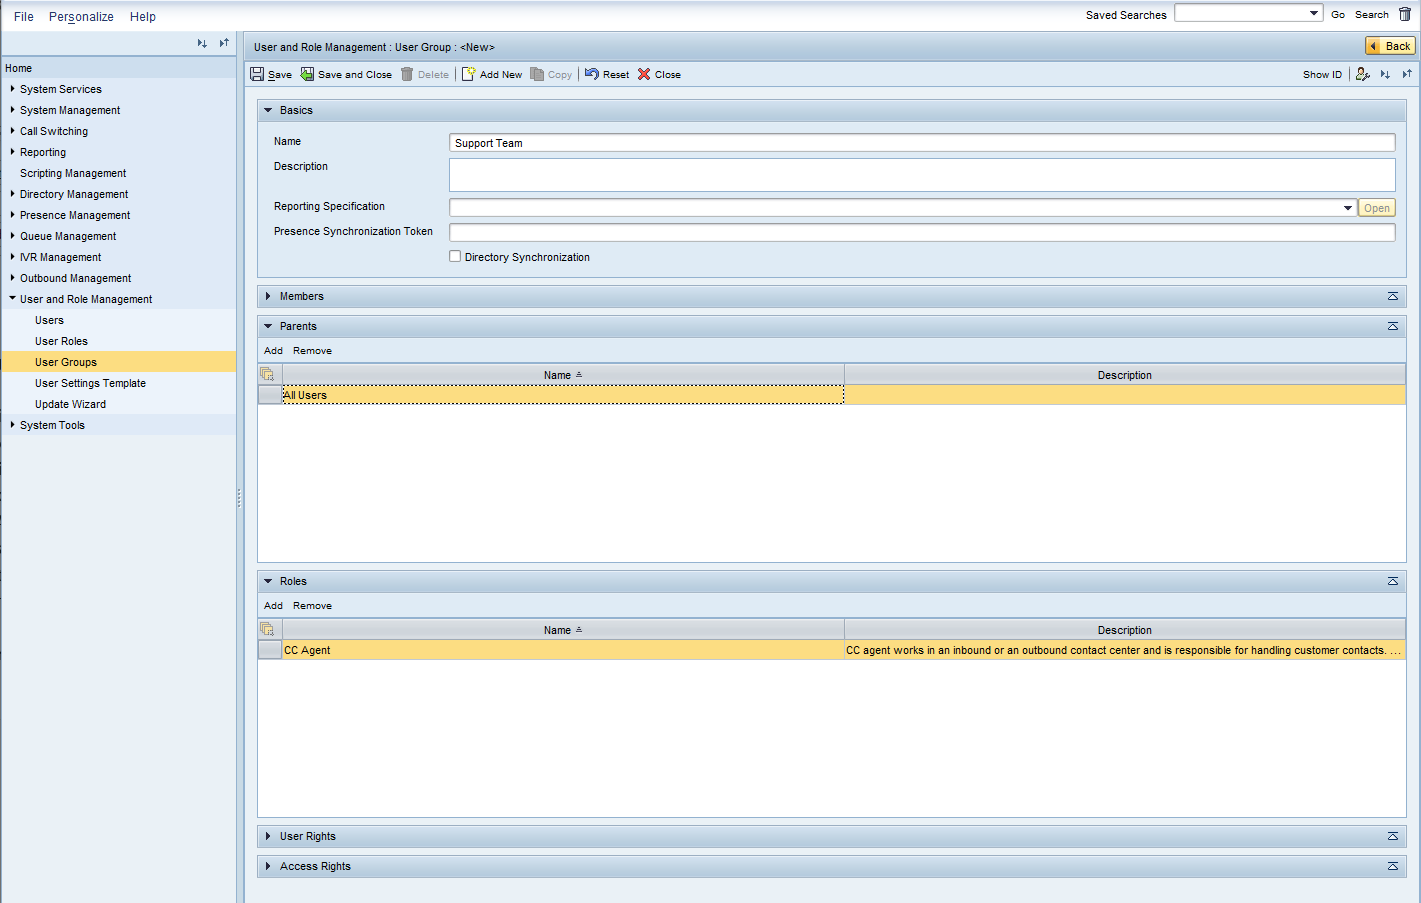
-
On the System Configurator main screen, choose .
- Enter the Name and other basic information as needed.
- Select the Directory Sychronization checkbox.
- In the Parents panel, click Add, and in the search window select All Users.
- In the Roles panel, click Add, and in the search window select the role you need, for example CC Agent.
-
Save the user group.
-
To ensure that all the members in the superusers group are able to manage the group, do the following:
-
In Access Rights, add
Superusers Group
and select Advanced as View Type. -
Select all the rights.
When the rights row is selected, additional rights are diplayed.
-
Select at least all the Grant checkboxes.
-
- Click Save and Close.