Configuring Sinch Conversation API
When using Sinch Conversation API as a messaging service, you should configure all webhooks with a secret to enable digital signature verification in Sinch Contact Pro . Configure the same webhook secret in Sinch Contact Pro to use this secret to verify the digital signature.
In Sinch Conversation API, webhooks are configured per app, and each webhook has its own secret. In the System Configurator (SC) application, only a single webhook secret can be configured per messaging service and it applies to all apps within that messaging service. But if your project extends over multiple messaging services, one webhook secret per service is needed. For example, if you have apps in different regions but the project is the same, you need to configure two messaging services.
- When you create your app in Sinch Customer Dashboard, select Dispatch mode as the processing mode.
- If you are setting up a SMS channel, inform Sinch of the phone number you want to use for outbound SMS messages. Currently, you cannot configure this number yourself.
Prerequisites
-
You have created and configured your project and apps API in Sinch Customer Dashboard (https://dashboard.sinch.com/login). For instructions, see https://developers.sinch.com/docs/conversation.
-
Internet connection from your on-premise Sinch Contact Pro environment
-
SMS Server, Chat Server, and Chain Matcher installed
-
Session object as HTTP in
-
Chat settings configured in System Services
-
GoDaddy certificate is available on your application server. This is required for rich content via WhatsApp.
Procedure
-
Go to .
-
Choose Add New and sinchconversation.
-
In the Basics block, enter:
- Name for your service
- Service connection of format https://[landscape either eu or us].conversation.api.sinch.com/v1/projects/[project ID]/messages:send
You get the project ID from .

-
In the Authentication block, define authentication for outbound messaging (consisting of key ID and app ID) and inbound messaging (webhook).
Note: Create a separate entry for both outbound and inbound messaging.- For outbound messaging, enter
- Authentication ID: Format is [Key ID]@[App ID]
You get the Key ID from .
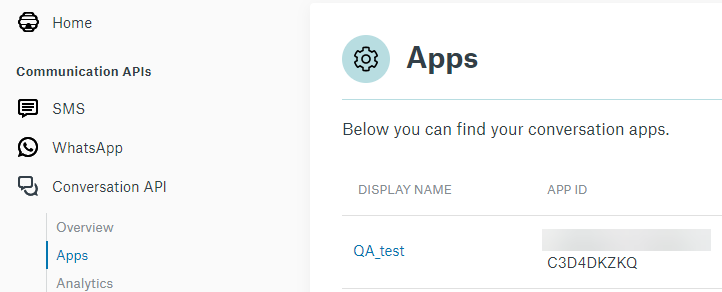
App ID is in .
- Password: Use the secret in .

- Authentication ID: Format is [Key ID]@[App ID]
-
For inbound messaging, enter
- Authentication ID: webhook
- Password: Use the secret token in
- Triggers:
- To see Conversation API related events in logs, choose MESSAGE_DELIVERY.
- To receive error reports, choose MESSAGE_INBOUND.

- For outbound messaging, enter
-
Save your new messaging service.
-
Go to and create a queue. The queue address is of format [app ID]@[subchannel].sinchconversation.com, for example:
- WhatsApp: 01E4556565565ERKYO@whatsapp.sinchconversation.com
- Sinch Chat: 01EB17K24DRDHH07FVSSG00WEN@nativechannel.sinchconversation.com
- Facebook: 01F49FCDPK4V1F1WJCE8DM1MBH@facebook.sinchconversation.com
- Viber Bot: 01F44FCDPK2V6F1WJCE5DM1MBH@viber-bot.sinchconversation.com
- Instagram: 01F39FCDPK7V8F1WJCE8DM1MBH@instagram.sinchconversation.com
- Viber: 01F29FCDPK2V6F1WJCE8DM1MBH@viber.sinchconversation.com
- Telegram: 01F39FCDPK2V5F1WJCE8DM1MBH@telegram.sinchconversation.com
- Line: 01F85FCDPK2V8F1WJCE8DM1MBH@line.sinchconversation.com
- Google RCS: 01F82FCDPK2V8F1WJCE8DM1MBH@rcs.sinchconversation.com
- SMS: 01ER4ABSP36WG80BMAR2CN1XEY@sms.sinchconversation.com
Make sure to capitalize the letters in the app ID when you enter it. Sinch Conversation API generates app IDs in capital letters and the System Configurator must use the same format in the queue address and messaging service configuration.
-
Check that your chat settings are configured in .