Creating queue groups in Sinch Contact Pro
Copying queue groups
You can copy the sample queue group and edit it further according to your needs.
-
On the System Configurator main screen, choose .
- Click Search and select the sample queue group.
-
Click Copy
-
Enter the name and select the Rights checkbox.
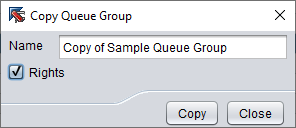
- Click Save.
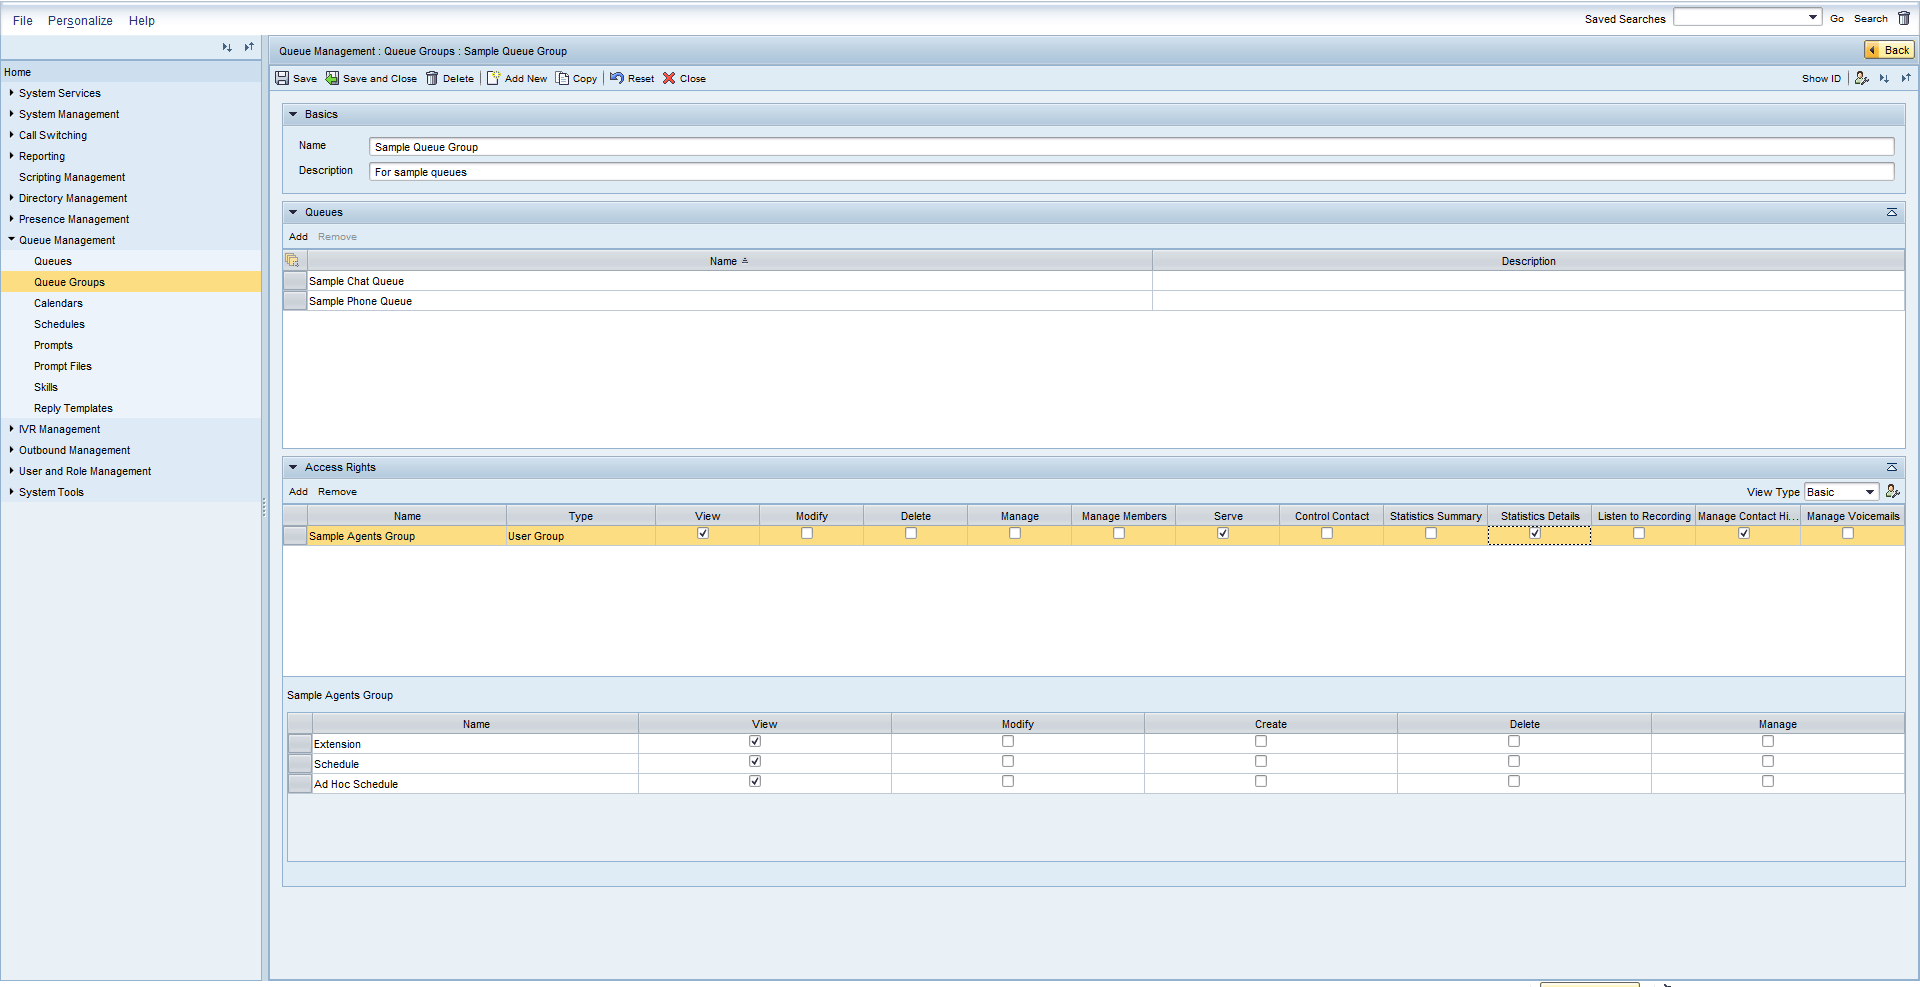
Creating queue groups manually
To create your own queue groups, define corresponding access rights in them:
-
On the System Configurator main screen, choose .
-
Click Add, and enter the name and description of the queue group.
- In the Queues panel, choose Add, and make a search and add the appropriate queues.
- In the Access Rights panel, choose Add, and make a search for User Group, and add appropriate user groups.
- Then select the access rights you want to give.
Agents need View, Serve, and Statistic Details rights to be able to handle conversations in queues. To see conversations in Conversation History, they need Statistic Details and Manage Contact History rights. For minimum rights required for each application, see Operation Guide.
- Click Save.