Handle a Chat
- Log in to Communication Panel.
- Select the queues where you are supposed to serve.
-
If you are automatically offered a conversation, you'll see information related to the conversation as well as the customer's phone number or email address displayed as a green link if it's found in the directory. To view customer information or the customer's recent conversations, click the link.
Note:For conversational messages, either a name or an ID is provided by the channel. Communication Panel shows these in the offering screen exactly as they are received from the channel.To accept the conversation, click the green Accept button. If auto-answering is used in your system, the conversation is accepted automatically and you don't need to accept it. To reject the conversation and return it to queue, click the red Decline button.
If picking is used in your system, you need to click the Picklist button to display a list of conversations you can pick, and click the Pick button.
- Enter your response.
-
If you want a line break in the chat, then press shift and Enter on your keyboard.
-
You can enter emojis. In Windows, click the Windows and . (period) button to open the emoji selection; in MacOS, use the keyboard shortcut Command - Control - Spacebar.
-
You can use reply templates if administrators have defined them in your system: Click the Reply Template button and select the appriopriate one.
For more information about templates, see Reply Templates.
-
When the chat is initiated from Facebook or other conversational messaging systems such as WhatsApp, you can attach, for example, videos, images and PDFs to the chat conversation. Click the Add button and choose the attachment. It is not sent until you click Send in the Preview window.
Note:You may not be allowed to send certain files to customers through social channels. In such cases, contact your administrator. -
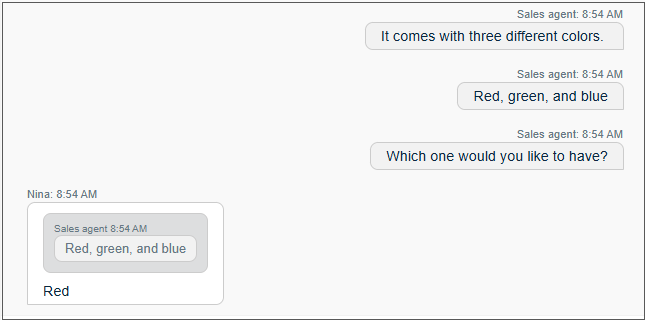
Customers sending messages via WhatsApp, Instagram, or Facebook Messager have an option to quote your message in their reply. You see the quoted message in their reply.
Note that this is supported only on the customer side.
-
For conversational messaging chats you also see when your message is:
-
sent

-
deliverd

-
read

Note:You will not receive a notification when a customer reads a message sent via SMS or MMS.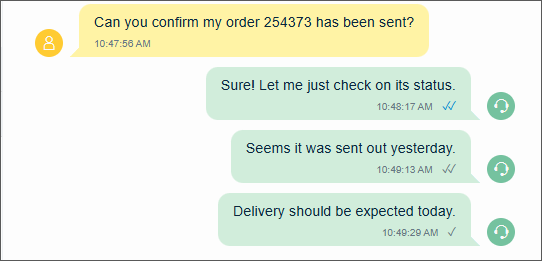
-
-
If you copy content from a third-party source, such as a website, to your response, use the Clean up input icon to reformat the text before sending the message. This function removes the unwanted elements defined by the administrators in the System Configurator.
-
If administrators have defined patterns and text you should avoid in chat conversations, such as certain words or sensitive data, for example, credit card numbers or social security numbers and you enter such content, Communication Panel will highlight it and inform you to modify your response before sending it. However, you can send the message without editing using the Send anyway button.
-
- To send your response, click Send or press Enter.
- To end an active chat, click the red End Chat button.
If the administrator:
- has defined an automatic wrap-up time for the queue, the conversation is wrapped-up automatically when the defined time has elapsed and the conversation is automatically closed. Before the wrap-up time expires, you can also click Close to end the wrap-up. The system then changes the conversation to the status of Handled.
- has defined a manual wrap-up for the queue, you need to click Close to end the wrap-up. The system then changes the conversation to the status of Handled.
Note:While a conversation is in wrap-up, you might not be allocated new conversations.